随着windows server 2012的推出,服务器的IIS版本也升级到了8.5,新版本的IIS设置方式和过去IIS6或IIS7都完全不一样,其中IIS错误页的设置也更加方便智能,今天介绍一下关于400、404、500错误页的简单设置方法。
首先新建一个记事本文件,然后改名为web.config ,然后打开web.config这个文件,复制以下代码粘贴上去:
<?xml version="1.0"?>
<configuration>
<system.webServer>
<httpErrors>
<remove statusCode="401" subStatusCode="-1" />
<remove statusCode="403" subStatusCode="-1" />
<remove statusCode="404" subStatusCode="-1" />
<remove statusCode="500" subStatusCode="-1" />
<error statusCode="401" path="/401.htm" responseMode="Redirect" />
<error statusCode="403" path="/403.htm" responseMode="ExecuteURL" />
<error statusCode="404" path="/404.htm" responseMode="ExecuteURL" />
<error statusCode="500" path="/500.htm" responseMode="ExecuteURL" />
</httpErrors>
<modules runAllManagedModulesForAllRequests="true"/>
</system.webServer>
</configuration>
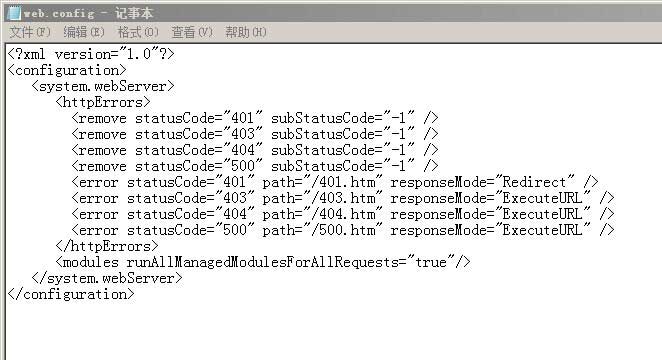
粘贴后如下图:

然后上传到空间的web目录或根目录下即可。如果你的错误页文件不是以上的404.htm 或 500.htm 请将以上代码中的文件名改成你实际的文件名称即可。

